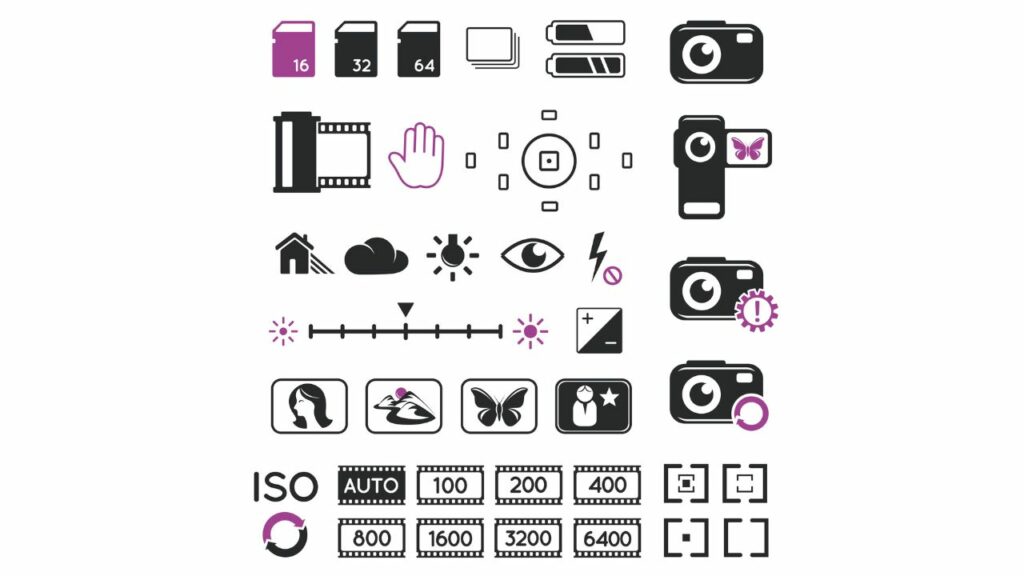
One of the factors that can really improve your cell phone photography is learning about your available settings. Cell phones can do remarkable things if you ask them to. They can also mess up a shot so much that you can’t ever fix it in post.
This article is for the cell phone photographer who wants to do more with less. We assume you understand the photo composition and working up to digital post-processing.
Shutter Button / Shutter Shock
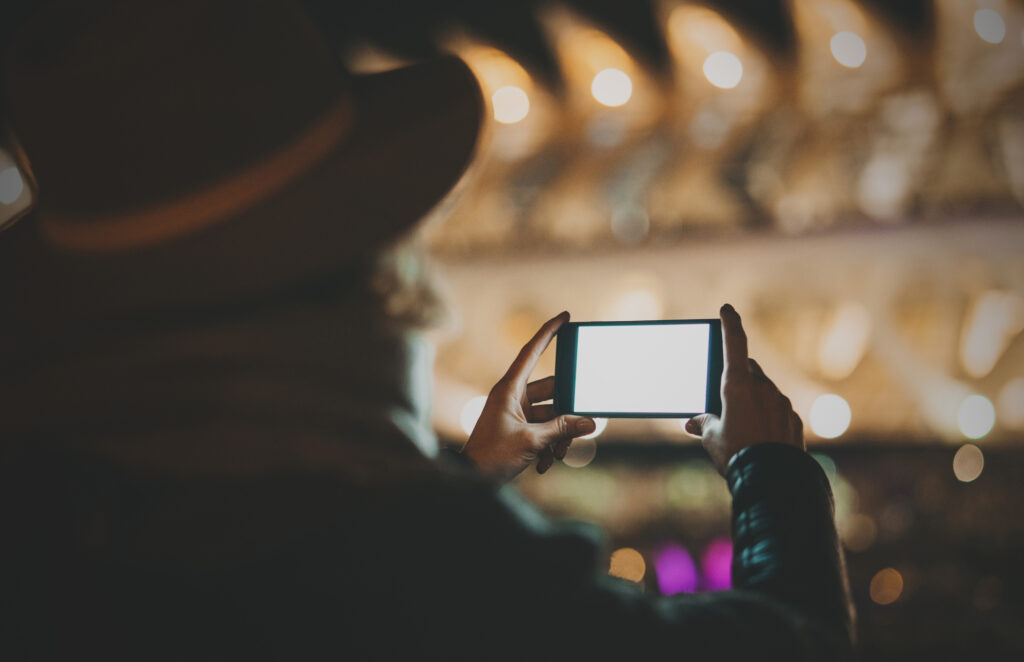
The shutter button is one of the most annoying things about cell phone photography. A traditional camera body has ergonomic grips for your hands with an ideally placed shutter button at the tip of your finger. Cell phones have you touching the screen with one hand while you hold your phone with the other. This action runs the risk of moving the focal point, which, in turn, can change the auto-settings or blur the image on the sensor, not to mention changing your composition. It’s also way too easy to put a finger in your shot, especially on the wide-angle settings.
There are a couple of easy shutter button adjustments you can make. Most phones allow you to add additional touch points, voice shutter commands (like “Shoot”), or use the speaker volume buttons.
There are off-camera solutions, too, like remote triggers or selfie sticks, which you’ll need to coordinate with your phone settings. After all, it’s hard to smile and say “Shoot” at the same time, and I don’t know how to change my voice trigger word to “Cheese.”
Finally, there’s a timer on your phone that’s usually used for group shots in front of photo-ops, but even a 1/2 second delay can help with shutter shock.
Tap to Focus
Your phone does three things automatically: exposure, color balance, and focus. Expensive cameras have complicated algorithms using multiple points in a selectable pattern. Cell phones generally use a single point in the center of your shot to select these settings.
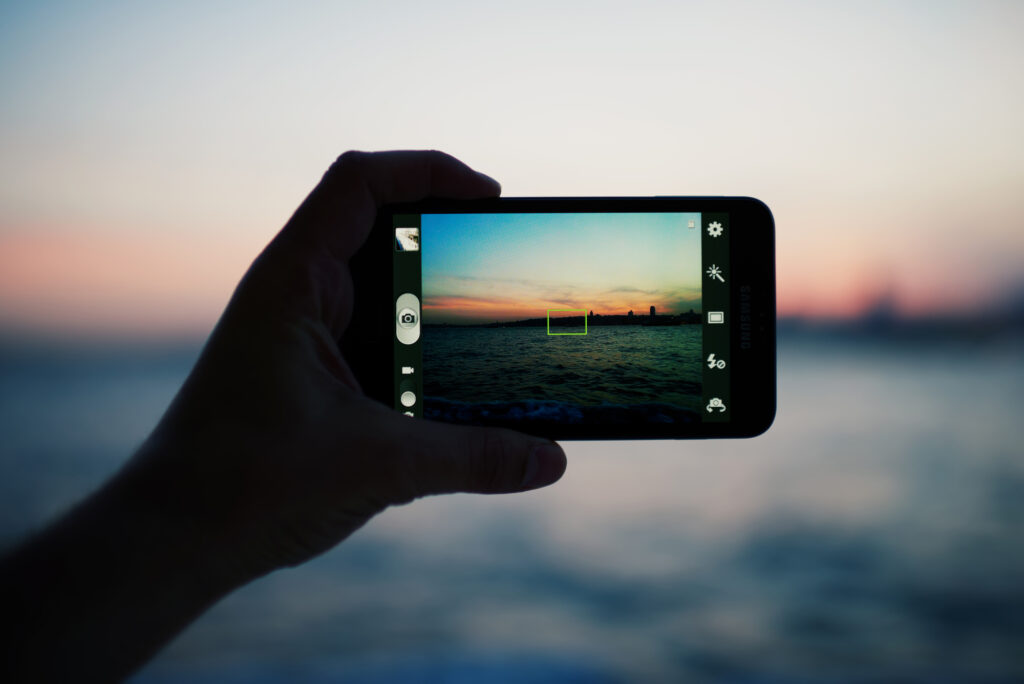
The most important setting on your phone (besides turning off your flash at all times) is selecting your focal point. All you need to do is tap the screen on the primary object in your composition, and your phone will better guess what these settings should be. This is particularly important if you remember to avoid mugshots and use the Rule of Thirds to put that object on a grid intersection.
Tap to Exposure Balance
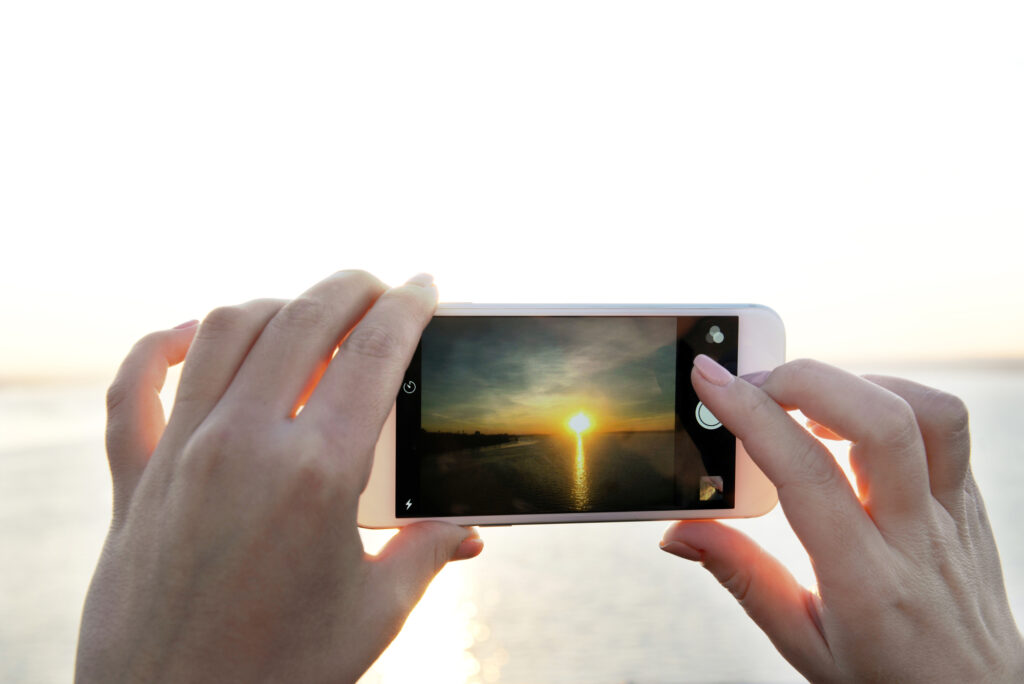
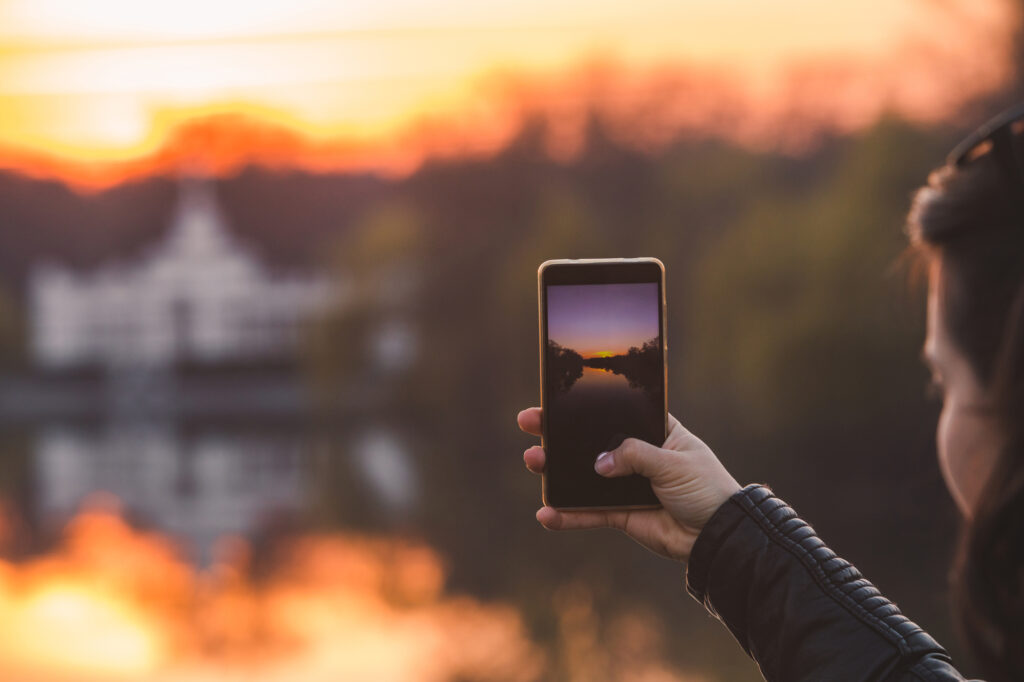
If you have a bright objective in your shot, your camera will automatically try to compensate, but it doesn’t always do a good job. Try tapping on the brightest object and see what happens. Sometimes, it’s magical – particularly the the sun is in your shot or you’re shooting a lighted object in a dark scene.
Exposure Triangle: Aperture, Shutter Speed, and ISO
Not only do you need objects in focus, you need them to have the proper exposure. We’re not talking about decency; we’re talking about decent photography. The image needs to be bright enough to see without blowing out. If you have fancy post-processing software, you’ll have a histogram of light intensity, and you don’t want it maxed out.
Tap to focus is also helpful for shots with exceptionally bright objects (like the setting Sun). Tapping on the brightest object will keep the image from blowing out. Your phone does this by balancing the exposure triangle:
Shutter speed- how long your shutter stays open
Aperture – the how large the hole is that lets light in
ISO – the sensitivity of your photo sensor (or film)
Aperture Priority / Portrait Mode

Most DSLR cameras let you directly control the aperture, which is how you set the f-stop. F-Stop is the light-gathering ability of your camera that’s proportional to the lens length divided by the aperture. Cell phones don’t generally have a variable lens, lens lengths, or aperture, so they capture some of this functionality with Portrait Mode.
Because it’s simple, Portrait Mode isn’t used to adjust exposure. Instead, it’s used to control the Depth of Field. In most cases, you want an object in the foreground to be clear and the background to be fuzzy (like a headshot, flowers, or food photography). Advanced cameras would use an f-stop between f2 and f3 for this, but many phones simply apply an algorithm to blur the background.
You can also choose to focus on an object deeper in the scene, like shooting through a fence at the zoo. This setting can effectively remove the wires from the image and leave only the animal.
Oh, and be sure to use your tap focus to precisely set the field of view whenever you use Portrait Mode.
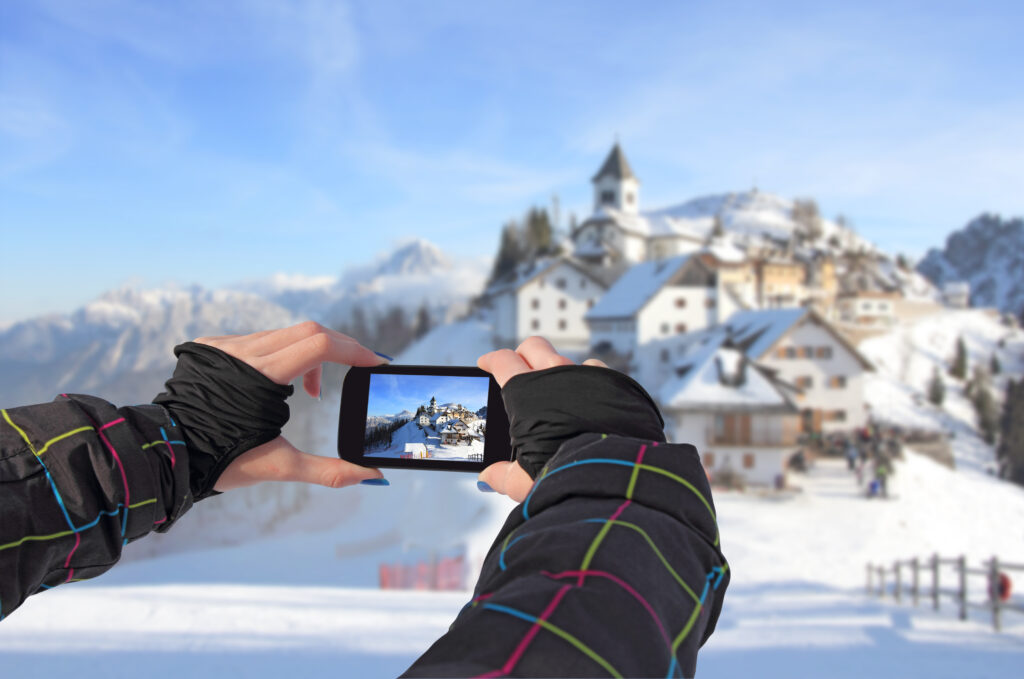
Landscape Mode
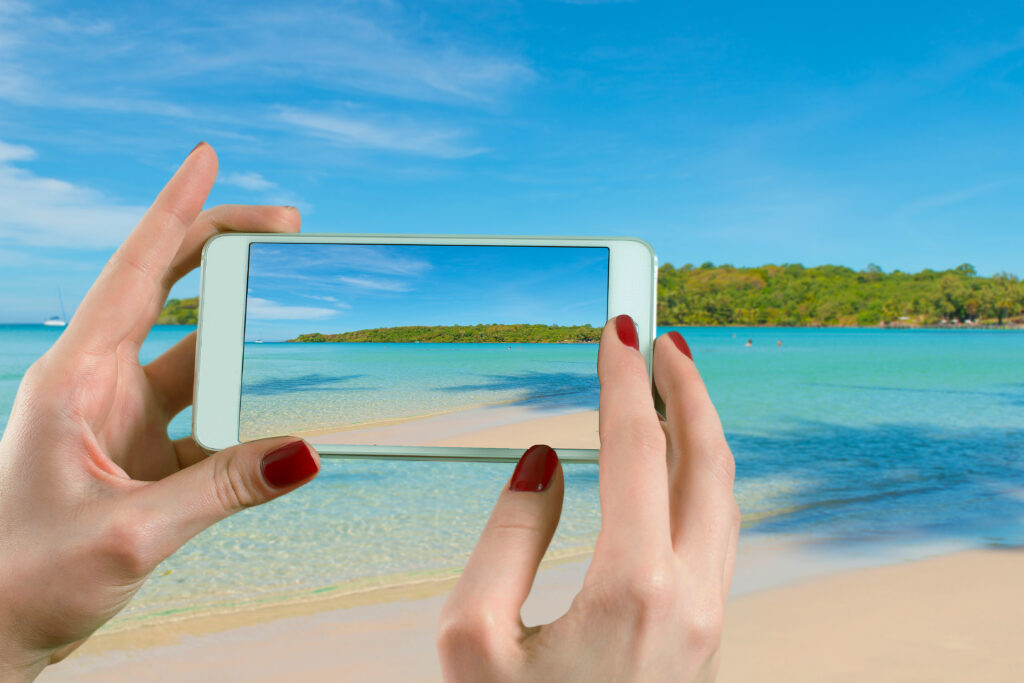
Simply speaking, Landscape is the opposite of Portrait, both in orientation and field of view. You want a shallow depth of field if you’re focusing on a face and a deep depth field if you want to see trees in the foreground and mountains in the background.
Generally speaking, you want an f/8 to f/11 for landscape photography. Many phones don’t allow you to set f-stop directly, and they don’t have a landscape setting. Don’t worry; the default settings are pretty good. Just remember to take your phone out of Portrait Mode and you should be ok.
ISO Priority

ISO (International Standards Organization) is a digital sensor’s (or film’s) sensitivity to light. The higher the number, the more sensitive it is. The problem is the more sensitive you make something, the more noise you get.
Some photography quick-start hacks say you should shoot in ISO Priority mode, set your ISO to max out at ISO-800, and let your shutter speed adjust to solve the Exposure Triangle. They go on to add that you always shoot with a tripod. This advice flies in the face of the beauty of cell phone photography, where you want to pull a device from your pocket and start taking pictures.
Night Mode
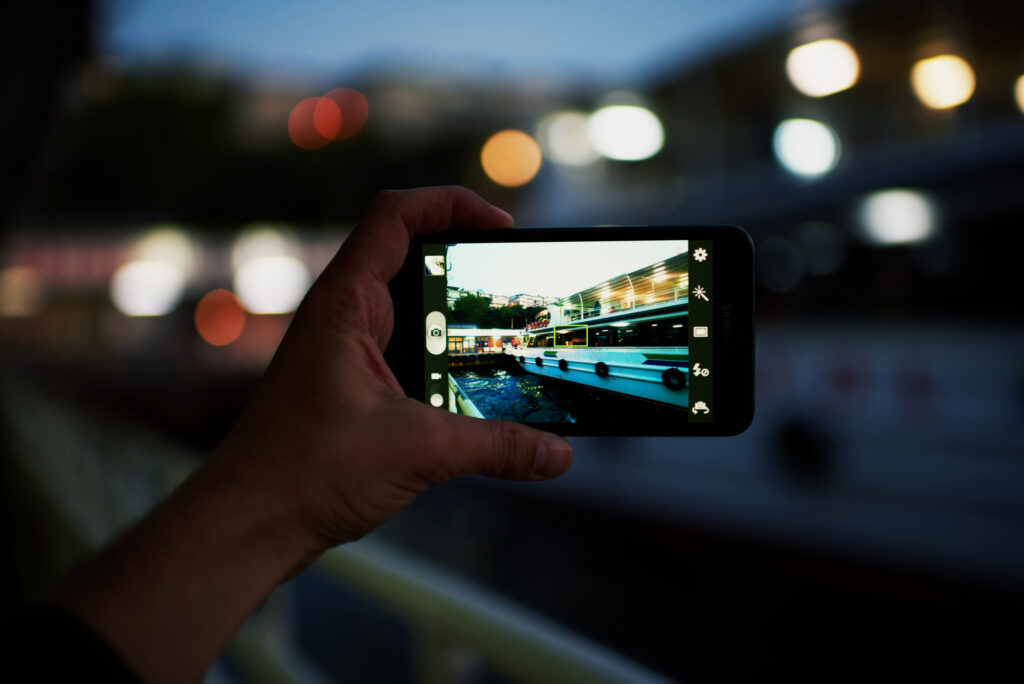
Instead of Iso Priority, many cell phones have a “night mode,” which you can play with and see how it works for you. There is an artistry to letting night shots stay dark, which is hard to replicate with an algorithm, but you can help it out with Tap To Focus.
On the subject of focus, another issue is that a dark scene makes it hard to auto-focus. If Night Mode and Tap Focus aren’t working, you can manually set your focus in the advanced/pro features, but that’s a last resort.
Fast Shutter Speed / Sport Mode / Freeze Motion
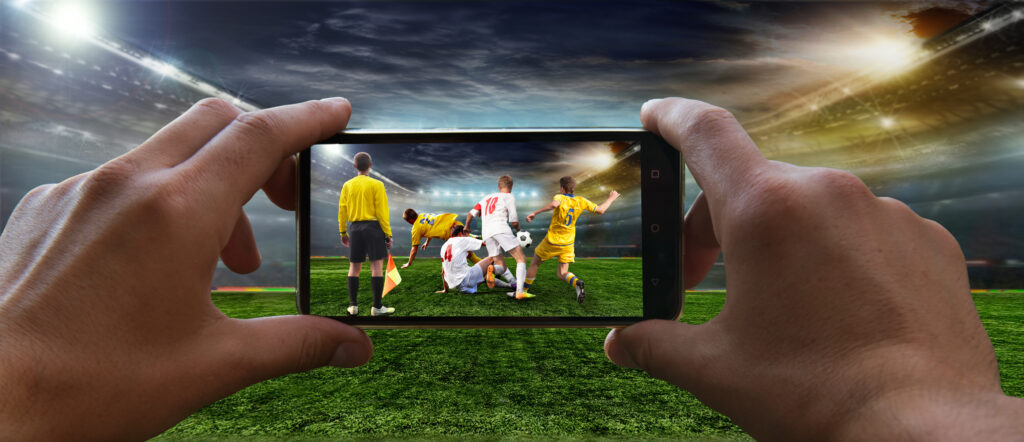
You’ll want to speed up your shutter speed to capture motion. This can be done in pro settings, or sometimes there’s a Sports Mode. The faster the motion, the faster the shutter. This setting can capture wings flapping, freeze water drops, or sports photography.
There are a couple of things to remember with Sports Mode. First off, you’ll need more light to get a good exposure, or the ISO will get set too high, and you’ll have grainy pictures. You’ll often be shooting in natural daylight on Sports Mode, so this usually isn’t an issue. Also, you may want to use Burst Mode to take multiple shots since you’re capturing a highly dynamic subject.
Slow Shutter Speed / Blur Effect
Slow shutter speeds are at the core of many creative photographs and are very hard to create with cell phones. There’s so much you can do with shutter speed that there isn’t really an automatic setting. Not only does a slow shutter allow for more light to enter, but it blurs the scene, which could be good or bad, depending on what you’re trying to accomplish.
Blurring is good for capturing the movement of lights at night (like skywriting) or implying the movement of objects, like bikes racing by a grandstand, or flowing water. It gets messy when unintended objects move and create ghosts and rods, which is generally bad unless you’re trying to fabricate photographic proof of paranormal activity.
Because of shutter shock, difficulty shooting in full auto, and rarely using a tripod, you’re only going to be able to hold the phone steady for a slightly elongated exposure, which is good for flowing water and not much else.
Panorama
Panorama photos are quick, fun, and easy. Just hit the panorama button and pan smoothly left-right or up-down. There are a couple of tricks to taking good panorama shots.
First – pan slowly and keep it level. The slower you pan, the more pixels your phone has to work with, and keeping it level will keep the edges of your end photograph level.
Second, be aware of the Sun Angle. It’s hard to balance the exposure of a large scene, so keep the Sun out of the shot. In fact, start at the edge of the Sun Angle and pan away from it.
Finally, be aware of objects in the foreground. Photo stitching adds distortion, making those objects look like they’re in a funhouse mirror.
Shooting in Raw (and Full Auto)

Certain photographers brag about two things: shooting in raw and full auto. Then again, they’re probably not shooting with a cell phone, which is a lot like riding a moped. It’s a lot of fun, but you don’t want your friends to see you doing it.
Shooting in full auto means adjusting all three legs of the Exposure Triangle instead of letting the device optimize one or all of them. The problem with shooting in full auto on a cell phone is that it’s tough to adjust exposure when the sliders are buried in menus instead of on convenient buttons on your camera body.
Shooting in raw means two things. One, your file is saved with compression. Two, the photo is saved without making color or lighting adjustments. This setting gives you more to work with in post-processing, but it means that your pictures will only look really good once you process them. Otherwise, you’ll wonder what’s wrong with your phone. Also, don’t believe the “#nofilter people” shooting on their phones. Your phone is automatically doing a lot of excellent filtering and color balancing that you will not realize until you shoot in raw and miss it.
Wrapping Up Basic Settings for Cell Phone Photography
There are other things you can set on your cell phone, like white balance, but you can fix that in post, so don’t sweat it. The “Big Three” are focus, exposure, and field of view right. You can do some tricks with panorama and shutter speed, but the Big Three are your bread and butter. Everything else can be fixed on the back end, which happens to be the next course in this series.
Read More From Coleman Concierge:

Master the art of photography with our comprehensive guide! Explore the 17 essential rules of composition that will transform your photos from ordinary to extraordinary. Whether you’re a beginner or a seasoned pro, these photo basics are a must-know for capturing stunning visuals. Dive in now and elevate your photography skills!
Photo Basics – 17 Rules of Composition to Live By
Cloudland Canyon Hiking and Photography Guide – Know Before You Go

Cloudland Canyon is one of Georgia’s most rugged and beautiful state parks. Here is our complete guide to the parks hiking trails and capturing it on film.
Cloudland Canyon Hiking and Photography Guide – Know Before You Go
Travel Photography Tips You Can Use Today

Photography is often seen as a bit of a dark art or too hard for the average traveler. In reality, some simple changes and ideas can radically improve your photos, often in minutes.
Travel Photography Tips You Can Use Today
Panama City Beach- 25 Photos to Inspire Your Next Getaway

The snow-white beaches of Florida’s Emerald Coast bring over 13 million visitors a year for a good reason. Here’s 25 of our favorite photos to inspire you to head to Panama City Beach for your next getaway.
Panama City Beach- 25 Photos to Inspire Your Next Getaway


 Hi! We are Jenn and Ed Coleman, and together we are Coleman Concierge. It is our goal to inspire you to get out, expand your world, and to seek adventure, even in your own backyard.