Have you ever wanted to take better photographs but didn’t know where to start? Have no fear. I’ve been an award-winning professional travel photographer for the better part of a decade, and I’m getting ready to share my best photography tricks and tips with you.
Photography Basics is the first installment of a three-part introduction to taking decent pictures. I’m a big believer in the KISS principle and the 80/20 Rule. These lessons are quick and simple ways to take better photographs, even if you only use your cell phone, by focusing on the rules of composition and simple tricks and tips.
Table of Contents
Clean Your Dang Lens
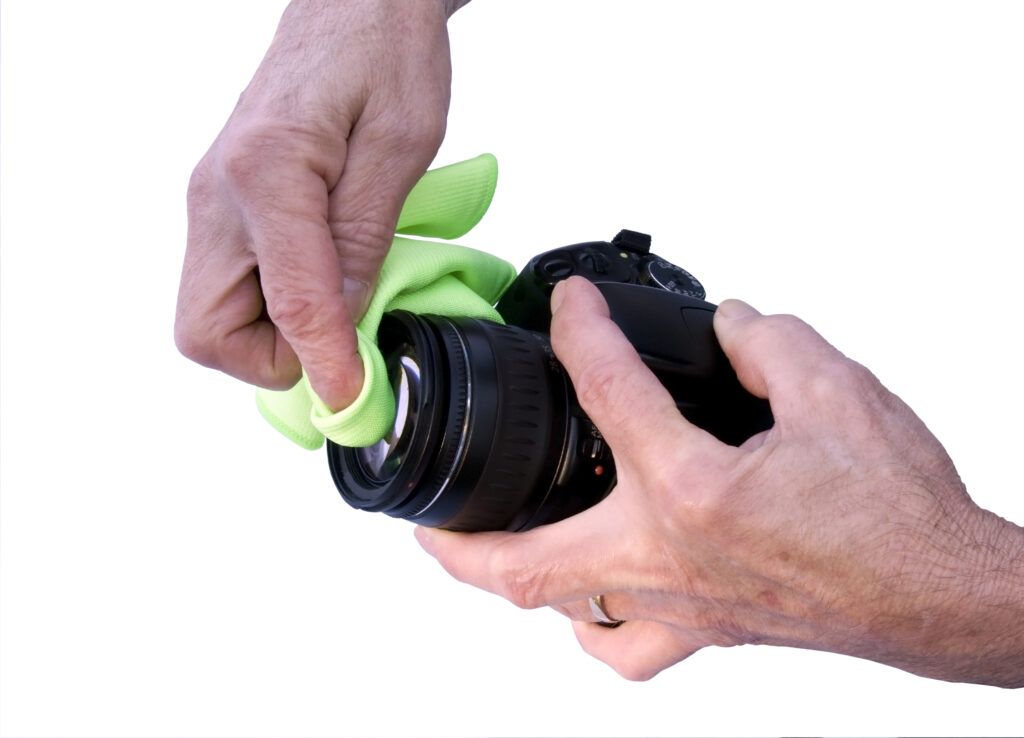
You’d think this would go without saying, but this world has a dirty lens epidemic. Your cell phone is used for so many things besides photography, and many of these applications have you touching the lens. Maybe it’s just because phones go into grungy pockets, purses, and who knows what. Either way, clean your lens before shooting, whether you think you need to or not.
If you’re shooting with a higher-resolution camera, you might be more careful about what touches your glass. Still, those high-megapixel sensors can pick up every smudge and particle of dust.
Portrait vs Landscape
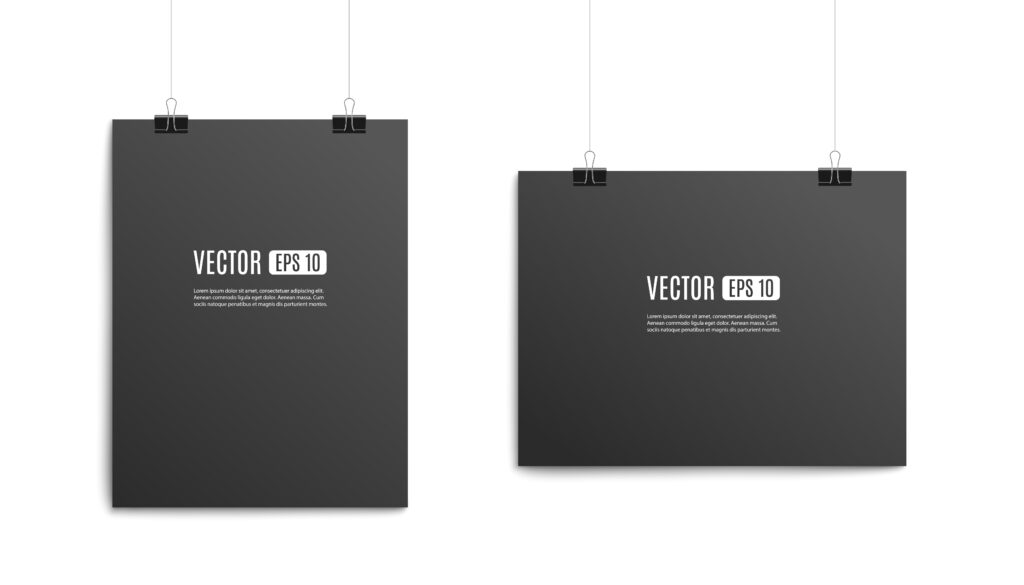
Most images are rectangles, not squares. Tall is a portrait, and wide is a landscape. Ready to take it to the next level? You use portrait (orientation, not setting) to take pictures of tall things, like people and landscape to take pictures of wide things, like landscapes.
Really, it’s not rocket science, so why do we keep seeing pictures of sunsets shot in portrait and people shot in landscape? If your answer is because you’re taking a square picture with a single object in the frame so it doesn’t matter; hold that thought. We’ll get there in a little bit.
Aspect Ratio

Aspect Ratio is the generalization of portrait and landscape mode. It’s a proportional relationship between an image’s width and height, essentially the shape, if you don’t like math.
Why does this matter? Your device has all kinds of settings, but you want to stay around 4×6 or 5×7 for most applications and 8×10 for larger prints. If you shoot a stretched photo, it will not only feel awkward, but you will get increased distortion from the edges of your crop sensor.
Another thing to check is that all your devices have the same aspect ratio. That’s not only your phone and DSLR but also your phone’s front and back camera.
Forget the Flash
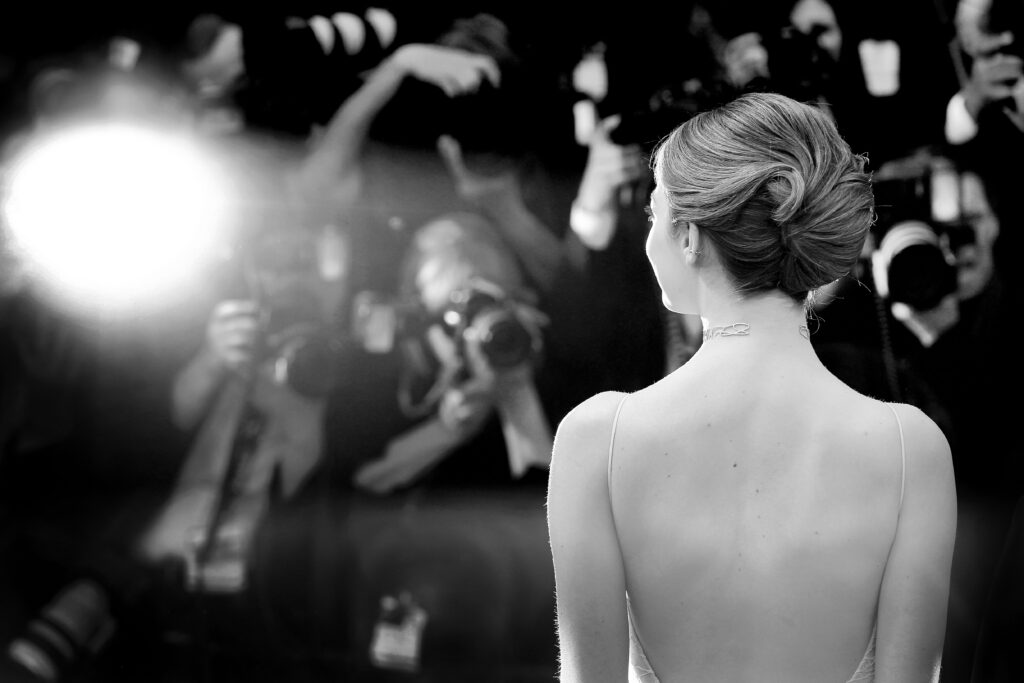
Let’s make this easy. There’s a flash setting. It should be turned off. Cell phone flashes are notoriously bad, generally annoying, and sometimes prohibited. There are a couple of problems because the light is on the camera body and has no diffusers like red-eye and reflections. Also, colors tend to wash out with the wavelength of light coming from a cell phone. They’re too blue, too cool, and make skin look unhealthy.
Frame First, Shoot Second

As a rule of thumb, you want to compose your shot and see it in your view screen before hitting the shutter. There are exceptions, like opening to a maximum field of view before shooting blind, but it’s a good rule that does many good things:
- Allows automatic features like focus and light balance to function as designed
- Permits selection of the proper lens (if your camera has multiple options)
- Verifies your composition in real time
- Keeps you from corrupting your aspect ratio with digital cuts
Rule of Thirds
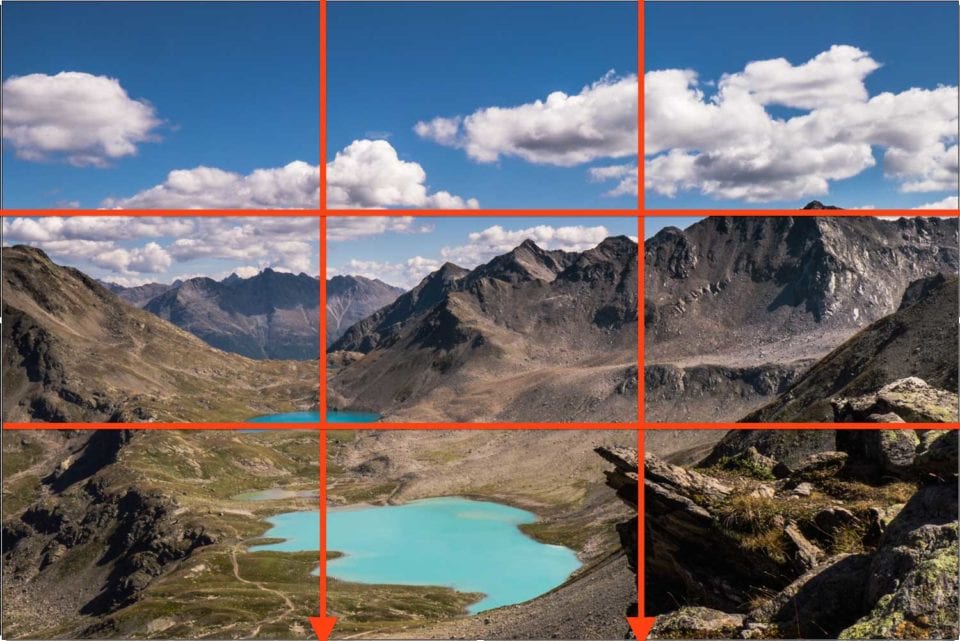
The Rule of Thirds is heavily overloaded in photography circles with multiple interpretations, so we’ll build it up slowly and take it one step at a time. Try to divide your scene into three equal parts, either vertically or horizontally. An easy application of this is photographing a beach at sunset. Make 1/3 of your picture sand, 1/3 water, and 1/3 sky. The same trick works inland with grass, trees, and sky. Whatever you do, don’t put the horizon in the middle of the picture.
Creating vertical compositions is harder but still possible. Imagine a waterfall with trees on one side and blue sky on the other or perhaps a person, tree, and skyscraper in the city.
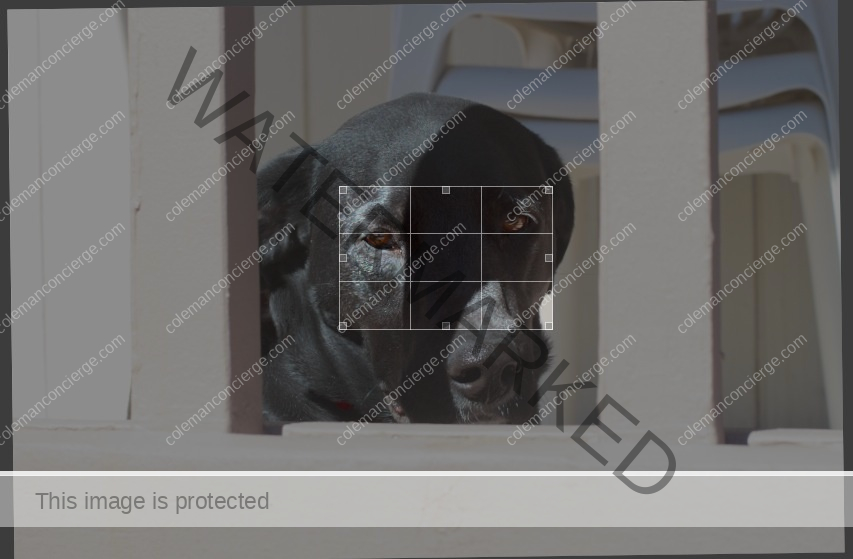
Use “The Grid” to Avoid “Mugshots”

The Rule of Thirds can be applied vertically and horizontally at the same time to create a grid. Compositional elements placed along these lines or their intersections create more tension, energy, and interest than simply centering the subject (like a mugshot).
Even if you only have one element, putting it in an intersection evolves your photograph from being a single element to a more robust composition.
Balance Your Composition
If you have multiple elements, you can evolve beyond the grid if you imagine a pivot at the center of your picture balances every element on an imaginary beam. The larger the feature, be it positive or negative space, the shorter the beam, like kids on a teeter-totter. The older kids sit closer to the middle.
This idea expands into using odd numbers of different size features to balance them with complex but rational geometry. Even numbers and sizes tend to collapse into simple symmetric patterns.
Capturing Motion
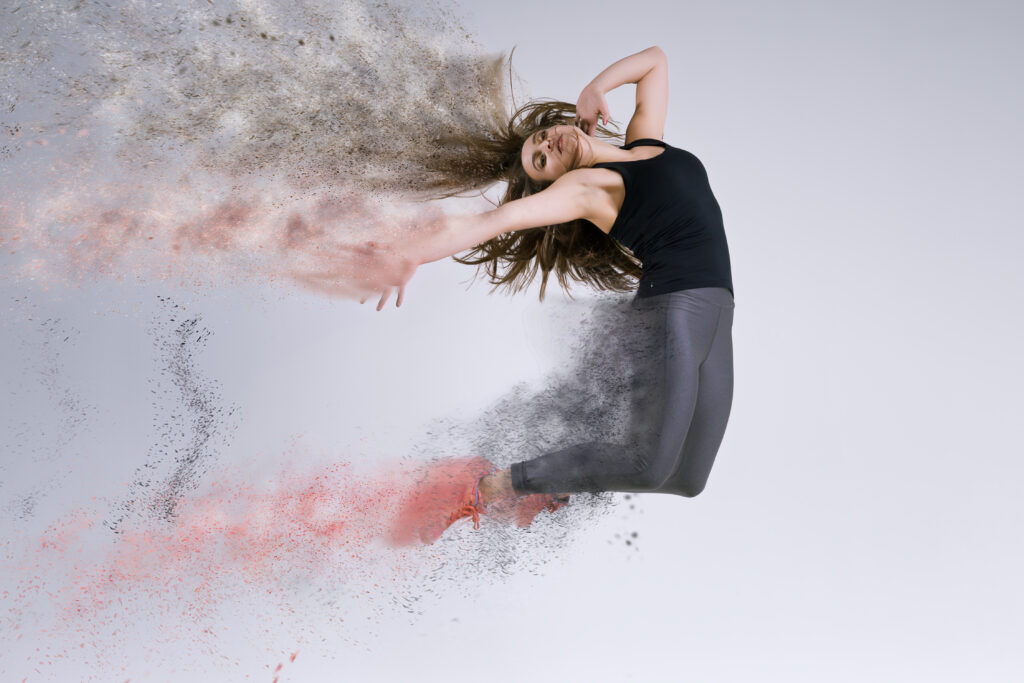
When objects are out of balance, there’s an illusion of motion. This can work to your advantage, especially with things that are supposed to move, like vehicles and animals. Try to put these elements on the grid, moving into the picture instead of leaving the frame.
Love Leading Lines

Lines allow the artist to direct the eye of the viewer. Leading lines create depth and linear perspective. They can be created from literal lines such as telephone and power cables or rigging on boats or derived from the borders of different colors or contrast. You can even create leading lines with a sequence of discrete elements at varying depths in the picture.
Other lines create a variety of effects in visual composition, including:
- Curved lines convey a sense of movement
- Angular lines create tension
- Horizontal lines increase calm
- Vertical lines create an illusion of height
Don’t Forget to Frame

Compositional lines help the artist direct the viewer’s eye to the focal point of a picture. The easiest way to do this is to put your subject in a frame.
Framing occurs naturally in many places, like looking out of doorways and windows to gaps in trees and hedges. The foreground or background of your composition often creates the framing, which brings us to the next trick.
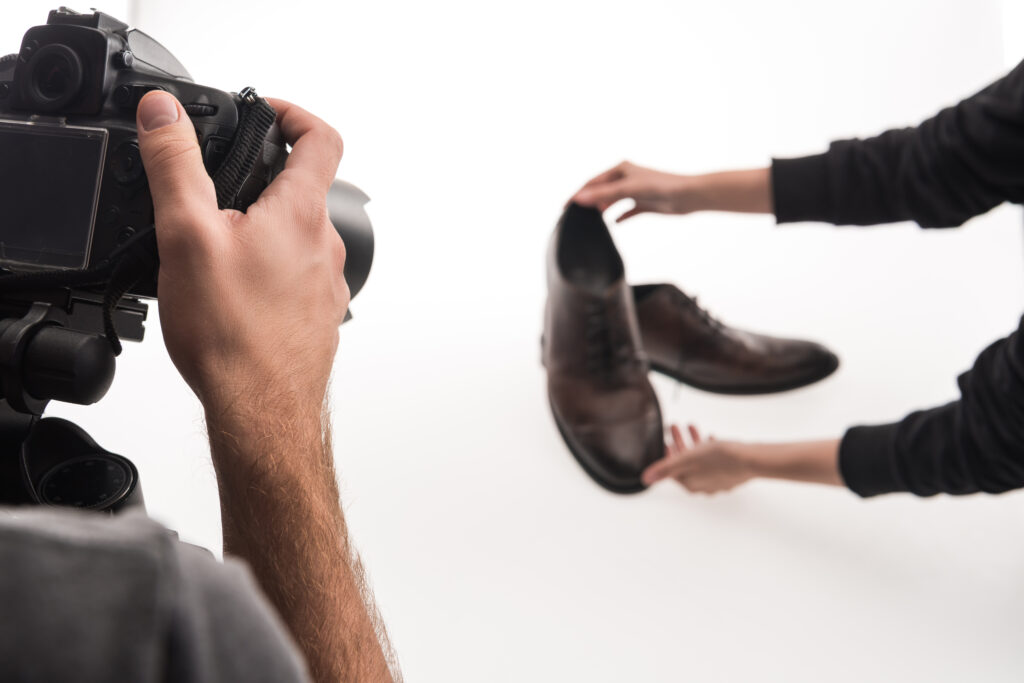
Consider the Foreground and Background

Cluttering the foreground is one of the most egregious sins of composition, from putting your finger in the shot to having too many people cluttering the scene. A cluttered background is a close second, especially in selfies and food photography. A messy scene is not only chaotic and distracting, but it obscures natural lines.
The best way to avoid this is to consider your composition before you shoot. There are tricks with aperture settings and post-processing that we’ll cover in future lessons, but avoiding the issue in the first place goes a long way.
Get Perspective

Objects in the foreground look bigger than objects in the background because they have a larger specular size. That is to say, they’re actually bigger in the image. Photographers can use this to their advantage by changing the perspective of a shot.
If you want something to look bigger, like a superhero or a hamburger, take it from a low perspective looking up. You can try flipping your phone upside down to make a hamburger look giant or laying on the ground to make your friends look like superheroes on their bikes.
Shooting from the top down has the opposite effect of slimming the subject. There’s a reason that so many teenage girls hold their phones above their heads to take those selfies.
Crop Carefully
You have to crop every shot you take, whether it’s intentional or a happy accident. Your eyes see more than most lenses. Where you place that crop can make or break a photo.
Don’t leave little bits of things in the picture. Either place enough in to see it or take it out altogether. A good rule of thumb is to include either the head or 2/3rds of an inanimate object. Also, don’t cut off people’s heads. Headshots are okay, but a headless torso is creeptastic.
Beware of Hot Spots and Dark Patches
There are words for hot spots and dark patches, like over/under exposed or burned out. In general, they’re bad. Like objects in the scene, you can fix some things with settings and post-processing. You can even layer shots if you have a tripod and good post-processing skills, but the easiest way is to avoid hotspots in the first place.
Be aware of sun angles and try to shoot when it’s overcast or during Golden Hour.
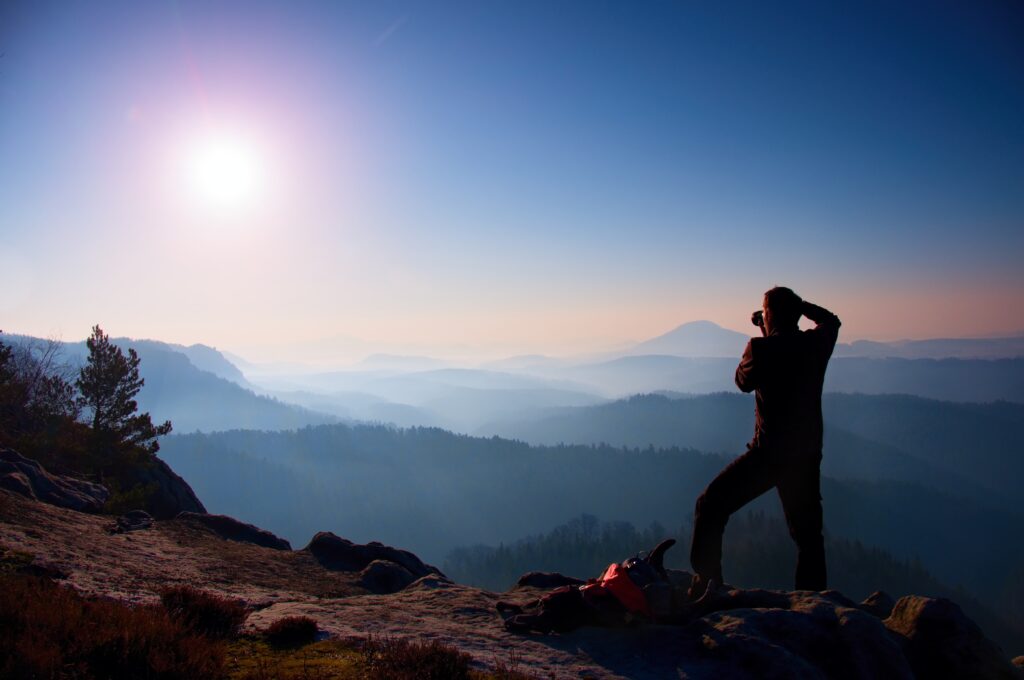
Golden Hour is Your Friend

Golden Hour is the hour after sunrise or before sunset. Not only aren’t there as many hot spots, but the light is more red at this time, which naturally warms your subject. As an added bonus, generally, there are fewer people to clutter your scene, and water features become smooth and glossy with calm winds. Plus, there’s a whole sunrise and sunrise photography genre to explore. There’s also a purple hour after the sun goes down, but that’s hard to capture without specialized camera equipment.
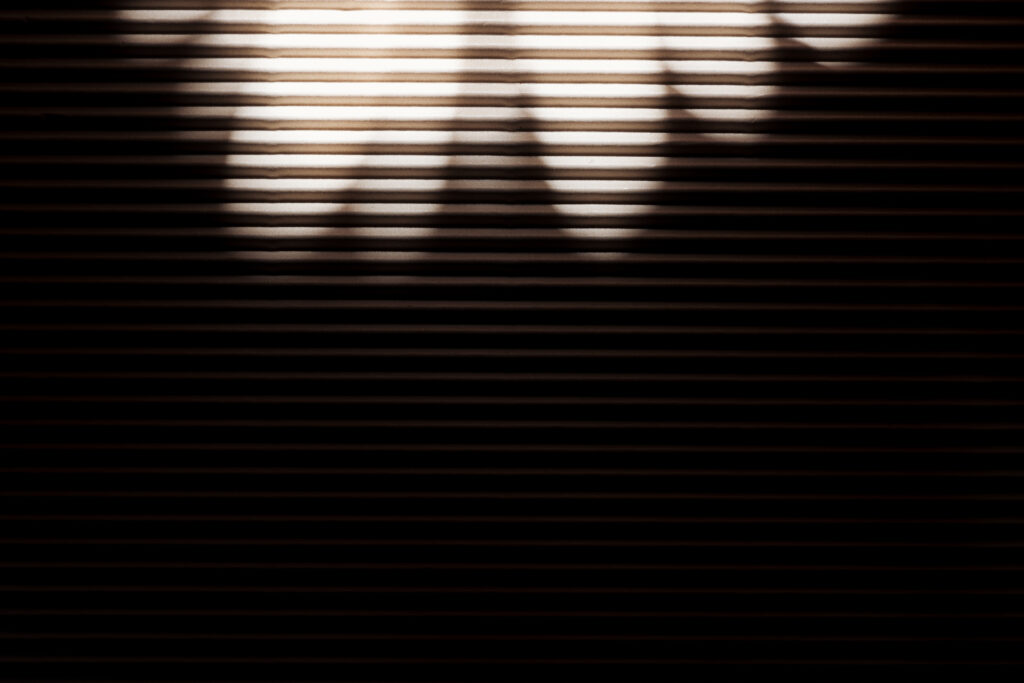
Shadows Aren’t All Bad

Wrapping Up Photo Basics


 Hi! We are Jenn and Ed Coleman, and together we are Coleman Concierge. It is our goal to inspire you to get out, expand your world, and to seek adventure, even in your own backyard.